
- COMMERCIAL GARAGE DOOR REPAIR
- GARAGE DOOR OPENER INSTALLATION
- GARAGE DOOR SPRING REPAIR
- SAME-DAY GARAGE DOOR REPAIR
- CUSTOM GARAGE DOOR
- GARAGE DOOR OPENER REPAIR
- GARAGE DOOR TRACK REPAIR
- GARAGE DOOR CABLE REPAIR
- GARAGE DOOR PANEL REPAIR
- LOCAL GARAGE DOOR REPAIR
- GARAGE DOOR REPLACEMENT
- NOISY GARAGE DOOR FIX
- GARAGE DOOR INSTALLATION
- GARAGE DOOR SECTION REPLACEMENT
- OVERHEAD GARAGE DOOR REPAIR
- GATE REPAIR
The Complete Garage Door Installation Checklist: What to Know Before You Begin
Installing a garage door might seem like the ultimate DIY project, but it requires a bit of know-how to ensure everything goes smoothly. Whether you’re looking to upgrade your existing door or simply want to try your hand at garage door installation, we’ve got you covered with this step-by-step checklist.
Preparing for Garage Door Installation
Before you even take the new garage door out of its packaging, there are a few essential steps to consider. Proper preparation can save you time and prevent headaches down the road.
Check Measurements
Start by measuring the opening of your garage. Make sure that the new door will fit perfectly by measuring the width, height, and depth of the garage opening. Don’t forget to measure the headroom above the door and the space on either side to ensure there’s enough room for the door tracks.
Gather Your Tools
Having the right tools on hand is crucial for any successful garage door installation. Some essentials include:
- Level
- Drill and drill bits
- Screwdriver set
- Sawhorses or a sturdy workbench
- Safety glasses and gloves
Being prepared with the right tools will make the installation process much smoother and more efficient.
Understand Your Door Type
Not all garage doors are created equal. Before installing, it’s important to understand the type of door you’re working with. Is it a sectional door or a single panel? Is it made of wood, steel, or fiberglass? Knowing these details will help you follow the specific instructions provided with your door.
The Installation Process
Once you’re ready, it’s time to get started with the actual installation. Follow these steps closely to ensure a seamless setup.
Assemble the Components
Begin by assembling the different components of your garage door according to the manufacturer’s instructions. This typically includes the panels, hinges, rollers, and tracks. It’s crucial to follow the instructions carefully to avoid any mishaps.
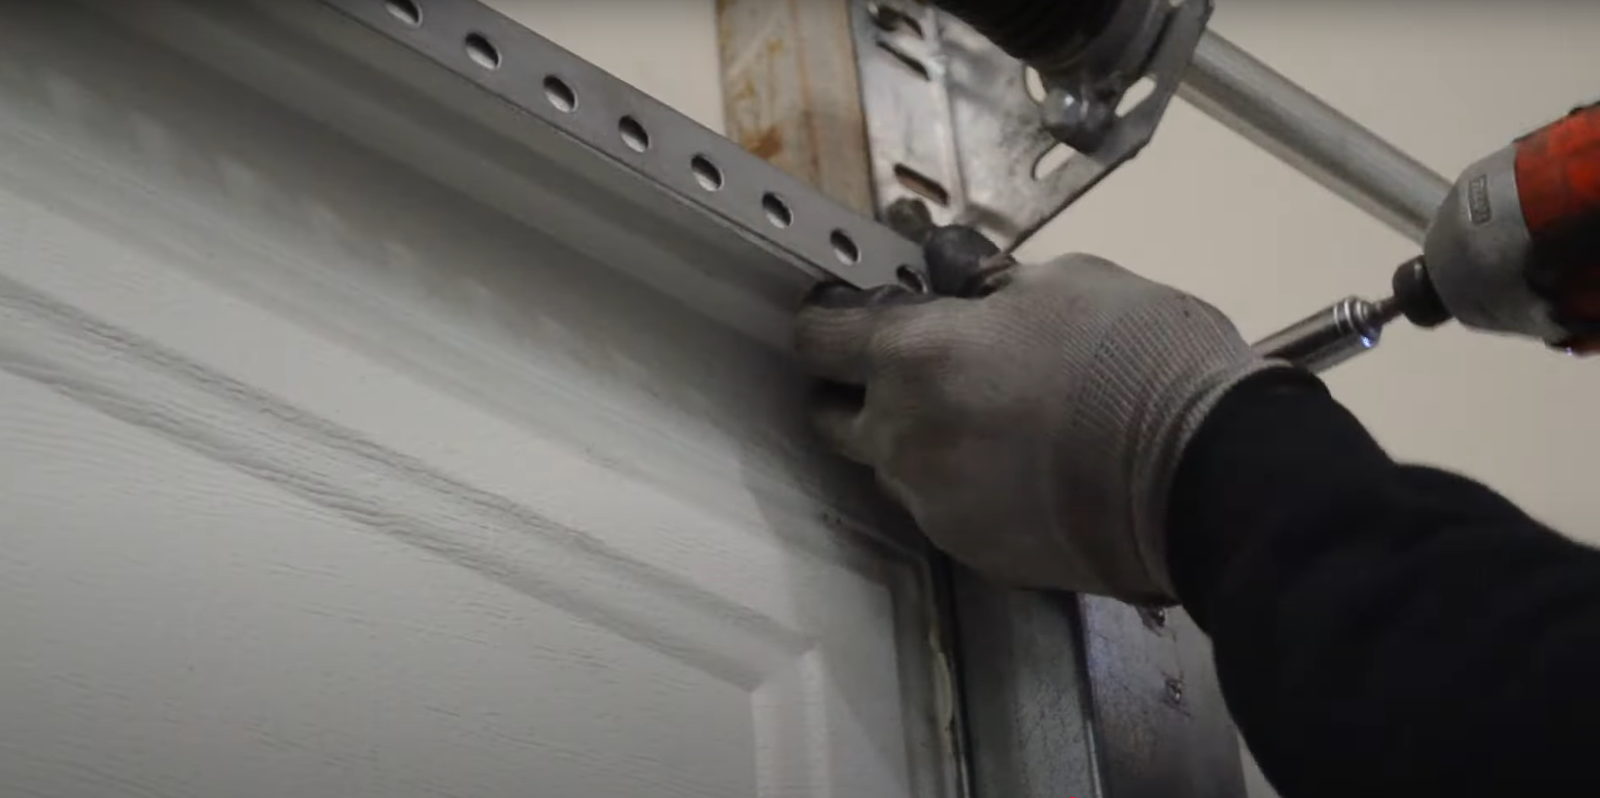
Install the Tracks
Next, install the vertical tracks on either side of the garage opening. Ensure they are level and secured tightly to the walls with the appropriate bolts. Then, attach the horizontal tracks to the ceiling, making sure they line up with the vertical tracks to allow smooth door operation.
Attach the Springs and Rollers
Install the springs and rollers as instructed. These components are vital for the proper functioning of the garage door, so make sure they are installed correctly. The springs should be evenly tensioned to ensure the door operates smoothly.
Test the Door
Before finalizing, manually lift and lower the door several times to ensure it moves smoothly along the tracks. Check for any obstructions or issues and make the necessary adjustments. Once you’ve confirmed everything is working correctly, secure any remaining parts and clean up the workspace.
Installing a garage door is a rewarding project that, when done correctly, can enhance the appearance and functionality of your home. By following this comprehensive checklist, you can ensure a successful garage door installation process. If you have any doubts or need professional assistance, don’t hesitate to contact Garage Door Repair Granville Ohio for expert guidance and services.
